


KNITTING CORNER
Knit cables (Photo – vimeo.com).
Yes, it’s Spring and getting warmer by the day. It is, however, never too early to start knitting a deliciously soft, scrummy-warm sweater so it is ready and waiting for you in the fall.
By Robin Southworth
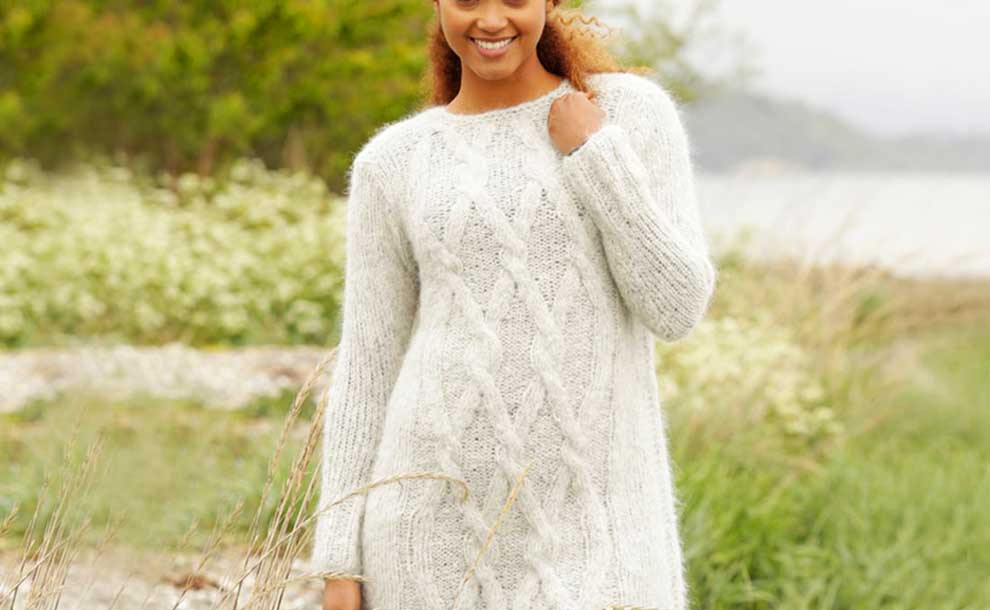
One of the techniques that separates fall/winter sweaters (or mittens or hats) from spring/summer sweaters is cables. Cables. The word can send shudders through an intermediate knitter. Don’t shudder. I used to feel the same way. Until I learned how to make them.
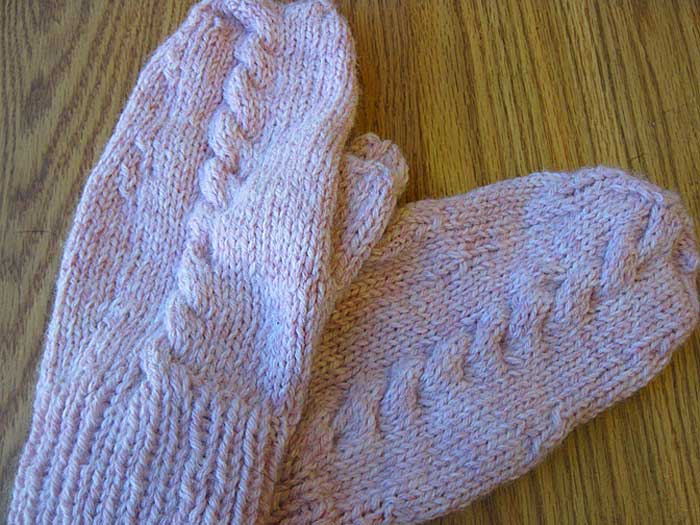
Cabled Mittens (Photo – Robin Southworth).
My teddy-bear knitting friend got ambitious (or was bored) a few years back and taught himself how to knit cables (“Show-off!”). I thought, “Shoot! If he can knit cables, I can knit cables.” He explained to me the ins and outs of cabling. It sounded easy. It turned out cabling was dead simple. What was I afraid of? Nothing, it seems.
Okay, Knitter. Take a big, deep breath. Again. Ooooooone more time. Now…let’s discuss cabling.
What is cabling exactly? Cabling is simply crossing one group of stitches over another. Fishermen’s wives used to knit unique cables on their husband’s sweaters so if they were lost at sea, their bodies could be identified (gruesome…sorry). It is also a decorative technique for your knitting.
THIS is a cable needle. It is used to hold the group of stitches.
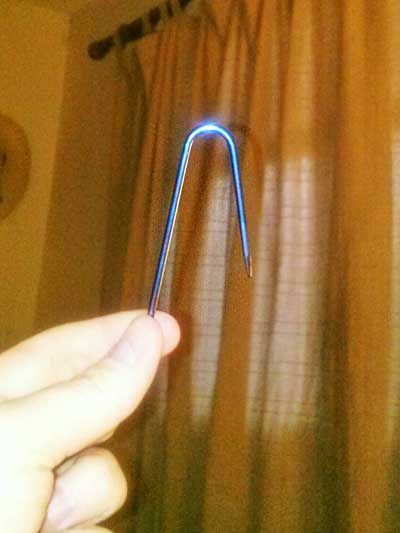
Cable Needle (Photo – Robin Southworth).
I’m going to throw you in to the deep end of the knitting pool. You’ll be knitting a cabled sample in no time. Use a worsted weight yarn – it will make everything easier to see.
Cable Sample
Cast on 30 stitches.
Knit all stitches for 7 or 8 rows. The exact number is up to you.
Next row: knit 5 stitches. Place a marker to mark a border.
Knit 5 stitches.
Slip 5 stitches onto a cable needle.
Here we have a decision to make. Do we “hold” the stitches to the front of the sample or the back? Hold the stitches to the front, the cable will appear to twist to the left. Hold them to the back, they will appear to twist to the right.
For the sake of argument, let’s hold the stitches to the FRONT.
Keeping the slipped stitches on the cable needle, knit the NEXT 5 stitches. NOW, using the longer end of the cable needle, knit these 5 held stitches. No, it shouldn’t be easy. I find this part hard.
Knit 5 more stitches. Place a marker. Knit to the end of the row. Turn your work.
Knit the first 5 stitches (the border), purl to the marker, knit to end.
Repeat this pattern for 10 more rows (knit the right side of the sample; knit the borders, purl between the markers on the wrong side of the sample).
After 10 rows, we’re going to add another cable. Knit 10 stitches. Slip 5 stitches onto cable needle and place cable needle in front of your knitting. Knit the next 5 stitches. Knit the stitches on the cable needle. Knit to the end of the row. Turn your work. Knit the first 5 stitches. Purl to marker. Knit to end of row.
Congratulations! You’ve started a cable.
Keep the pattern going for as long as you’d like. The more you do, the better practice you’ll have making cables and the less scary cables will be.
This is my cable sample. Yes, I know, the lighting is AWFUL. However, the nice lighting made the stitches more difficult to see. I decided you needed to see the stitches, so – bad lighting.
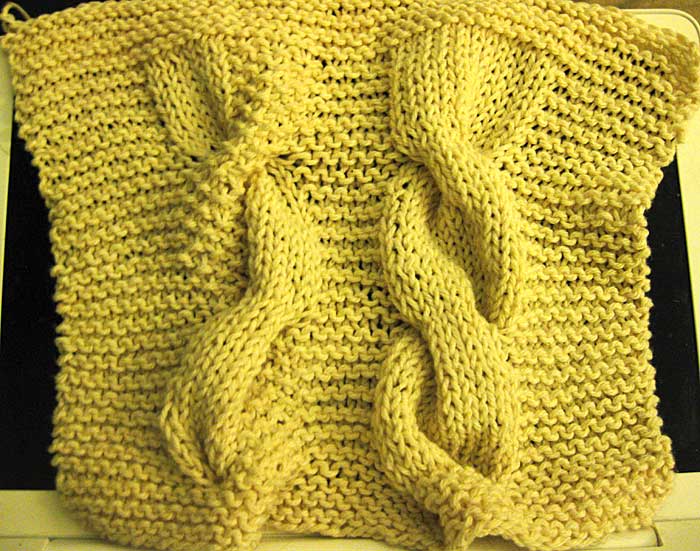
My Cabled Sample (Photo – Robin Southworth).
The beginning of a cabled edging for a knit bag.
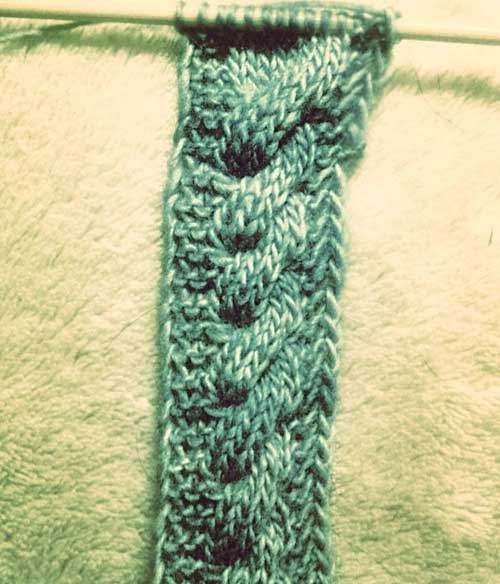
Cable Sample Photo – Robin Southworth).
This is how it (and the bag) turned out:

Knit Bag, Cabled Edging (Photo – Robin Southworth).
Now get out there and CABLE!


Leave a Reply